

This post may contain affiliate links. Please read my privacy policy.
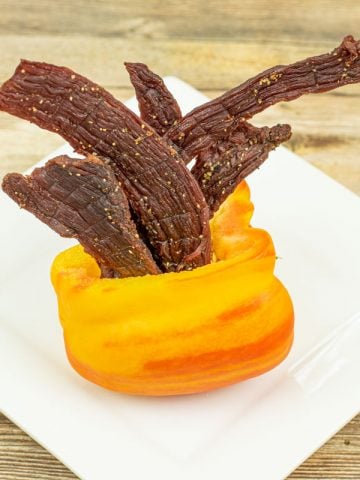
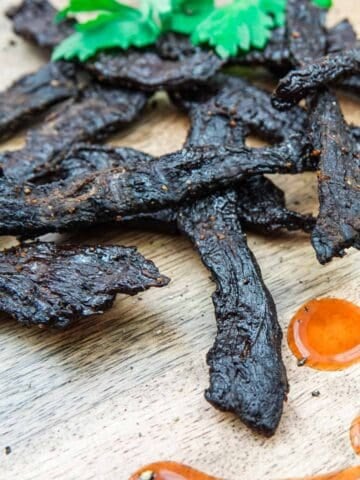
Ready for a totally different type of beef jerky that tastes fresh and delicious? If so, this coconut ground beef jerky is for you!
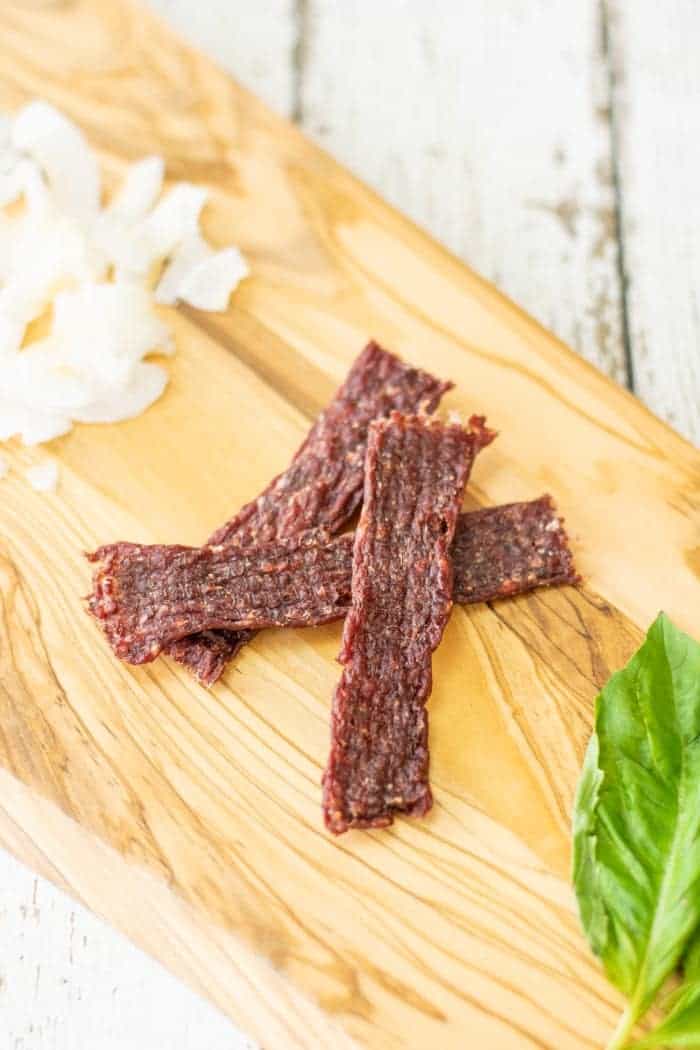
A beef jerky that has a great coconut flavor which really worked out tasting great. The coriander and cinnamon also come through really well rounding out the flavor.
The honey gave it a perfect sweetness which has countered the saltiness of the sea salt. It turned out tasting pretty darn good!
Jump to:
Choosing The Ground Meat
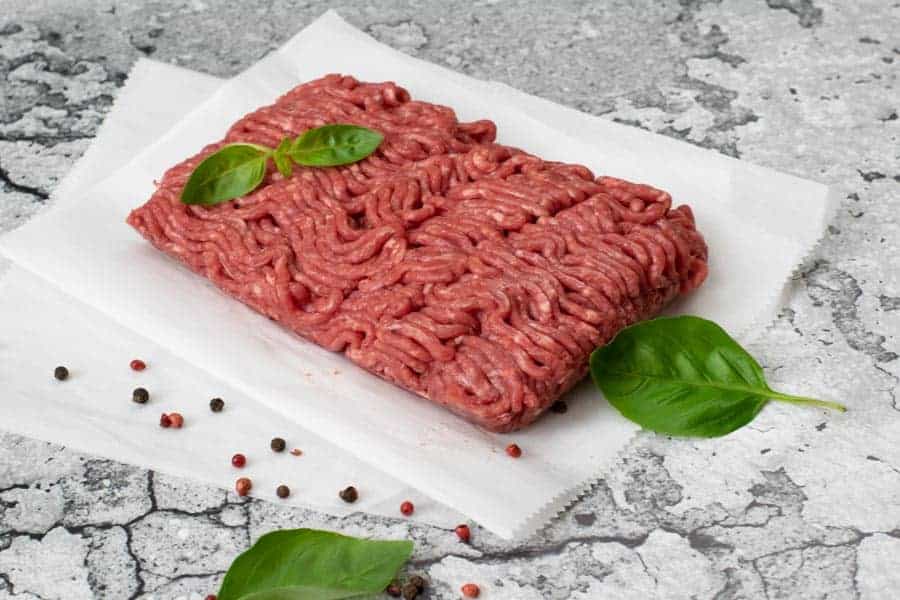
Start with a lean ground beef, 10% fat at the most. Using a leaner ground meat will allow the jerky to last longer when stored since fat goes bad before the meat.
Therefor the less fat you have in the meat the longer it will last.
Marinating the meat
I recently purchased some LorAnn cooking oil flavorings that can be added to recipes. For this jerky recipe I used coconut!
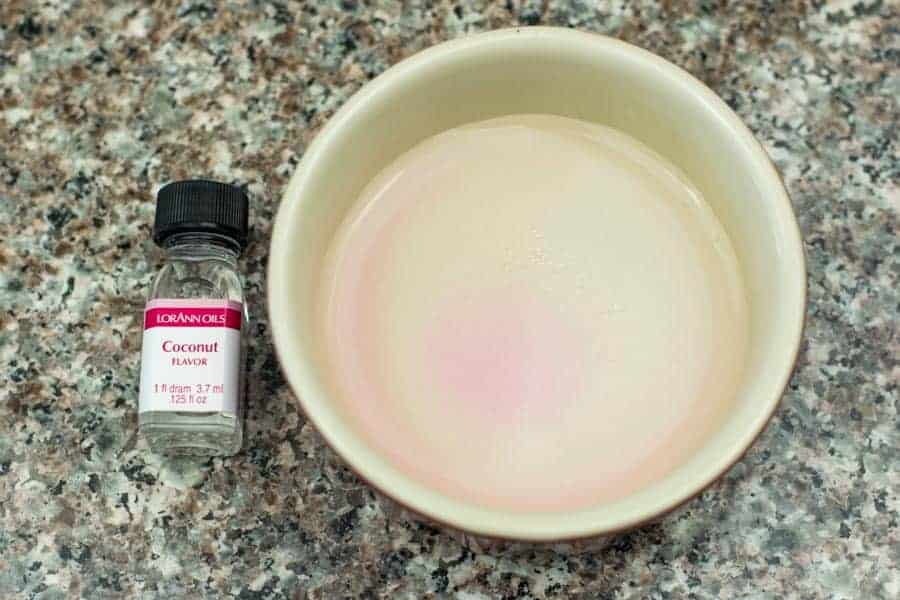
Whenever making ground jerky, always use curing salt to prevent any potential bacteria within the meat. Since the meat is ground and will be mixed by hand use disposable latex gloves (affiliate link)
The potential for the introduction of bacteria is higher with ground meat than when making whole muscle jerky.
In the picture above you can see I dissolved the ¼tsp of curing salt in 2tbsp of water and 1tsp of the coconut flavor.
TIP: Dissolving the curing salt in water allows it to more evenly be mixed into the ground meat.
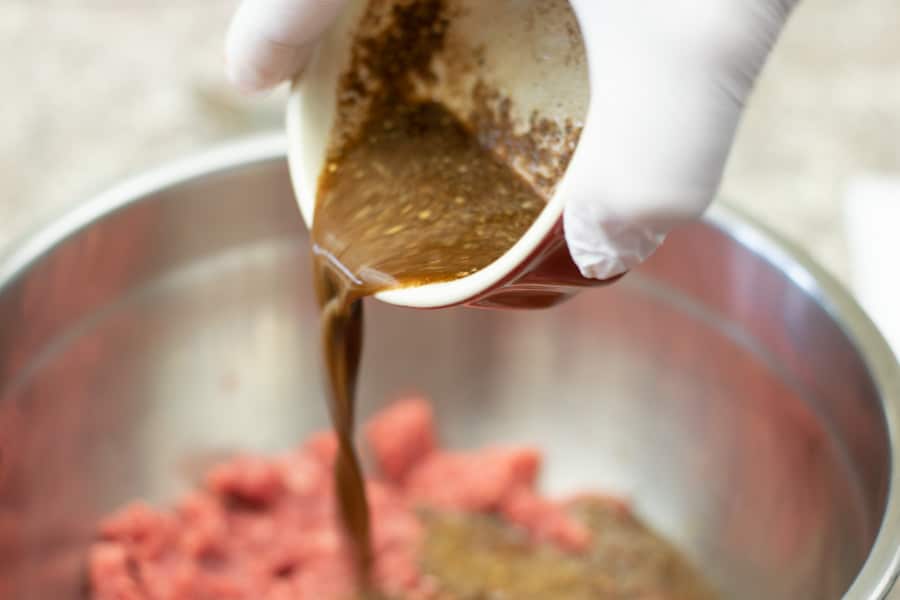
Add the other ingredients to the curing salt/water/flavoring mixture and mix well. Then pour the marinade into a bowl with the ground meat and mix together well.
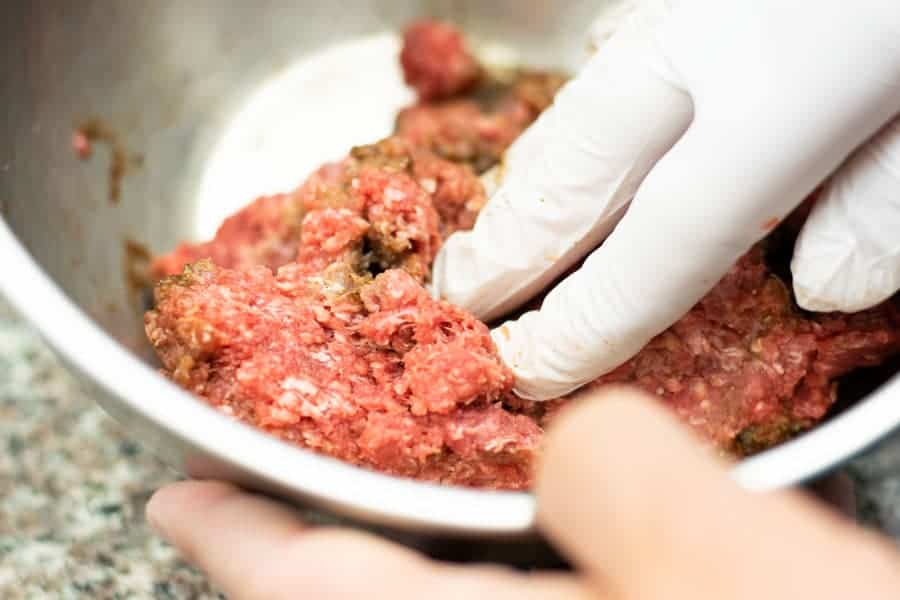
Make sure the meat and marinade is mixed together well and evenly so the flavor will be consistent throughout the whole batch. Remember to use your food safe gloves when mixing.
Cover the bowl and place the mixed meat in the refrigerator for 1-8 hours to help the meat bind together. This will help the jerky strips stay together when forming them in the next step.
Forming the Jerky Strips
There are two ways to form jerky strips when making ground meat jerky.
The first is using a Jerky Cannon, the method I used when making this recipe.
The second is flattening out the meat with a roller pin and scoring the meat with a knife.
To see how to make ground jerky using the roller pin, check out my How to Make Ground Jerky Page.
If using a jerky cannon, load the cannon with meat making sure to prevent any air pockets within the meat.
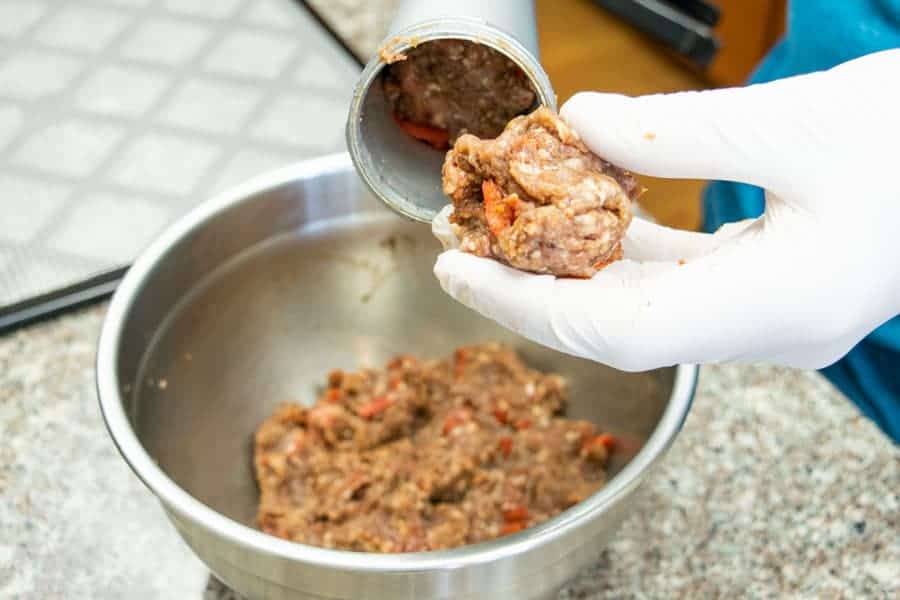
To do this, push the lever that is found by the handle all the way to the front only leaving about 3 inches of room from the end you can see above.
Fill that 3 inches of space with the jerky mixture and then pull that lever back another 3 inches.
Pulling the lever back is essentially pulling the piston towards the handle giving you more room for more jerky mixture. Continue doing this until the whole pound of ground jerky is added into the cylinder.
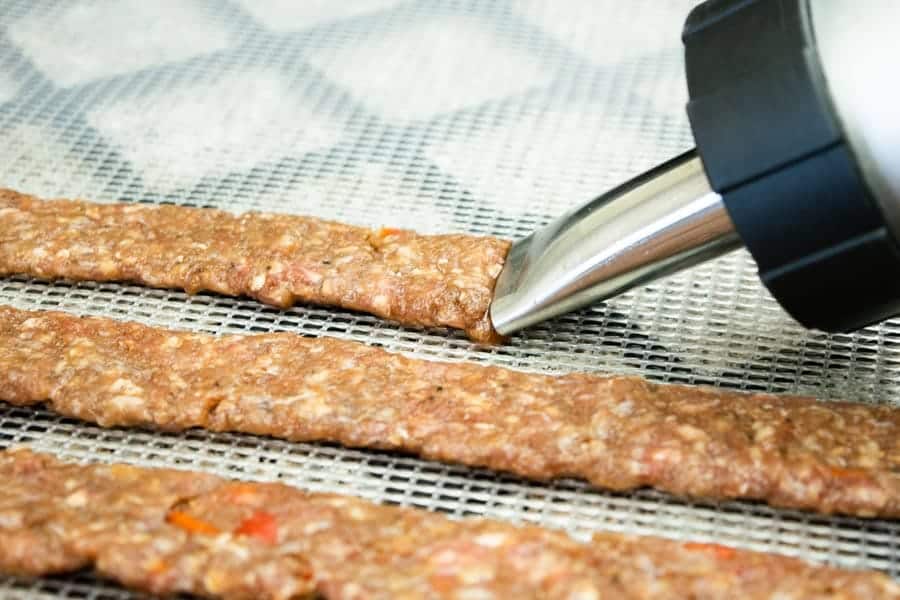
Keep a butter knife next to you when shooting your strips onto the dehydrator tray to cut the meat from the nozzle after you have finished a long strip.
Then use that knife to score your strips into your desired individual jerky lengths. I chose to score mine at about 4-5 inches in length.
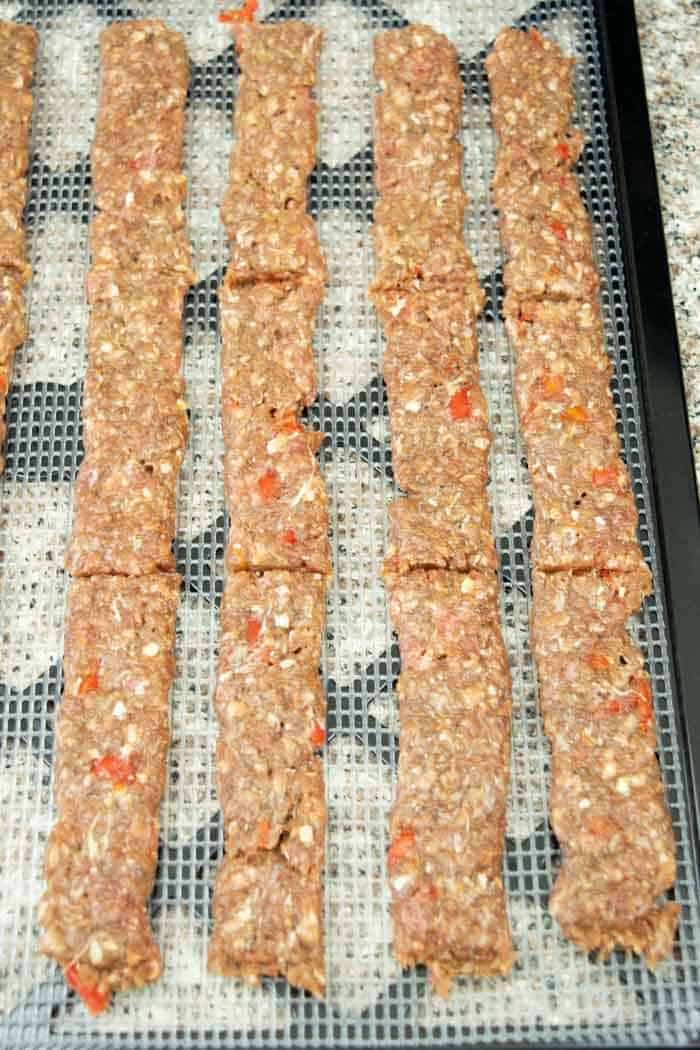
Drying the jerky
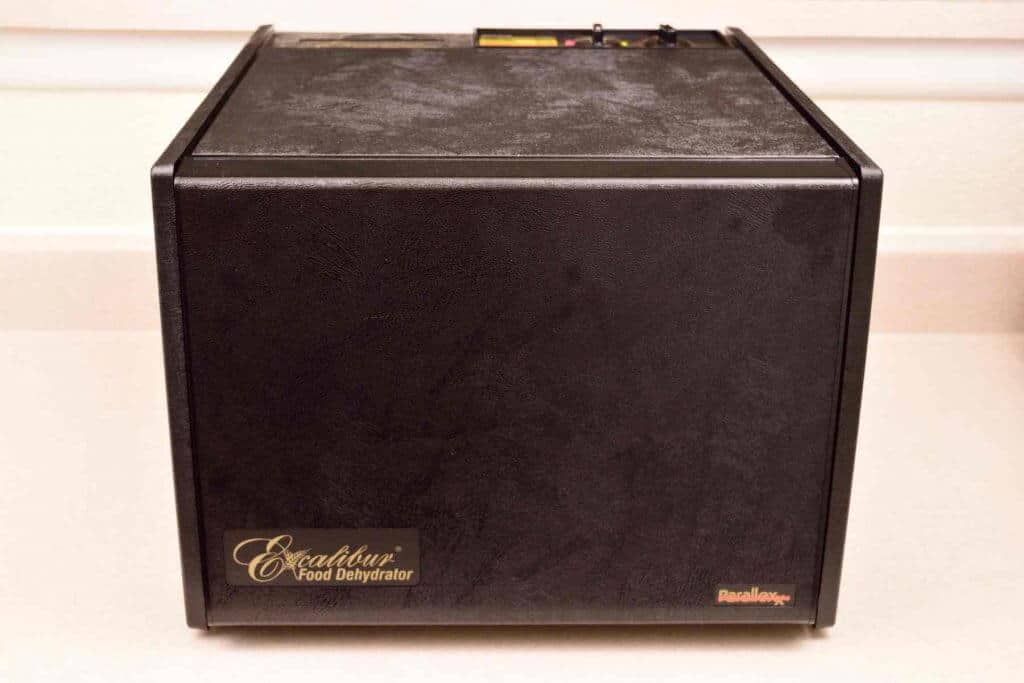
Using my Excalibur Dehydrator was how I chose to make this ground beef jerky recipe. You can use a smoker or an oven as well if you choose.
Dehydrator
The dehydrator is easy and quick. After 'shooting' the strips onto the trays, they were dried at 165F for 3 hours and 145F for 1 hour until they were finished.
Oven
Place your oven tray with the jerky strips on the center rack. Bake at 170 degrees for 4-6 hours.
Place a wooden spoon in the door of the oven to leave it open about an inch. This allows air to escape the oven and help dehydrate the ground beef jerky.
Testing for doneness
First, start checking the strips at about the 3 hour mark. Pull a piece out of the dehydrator and allow it to cool to room temperature for 5 minutes.
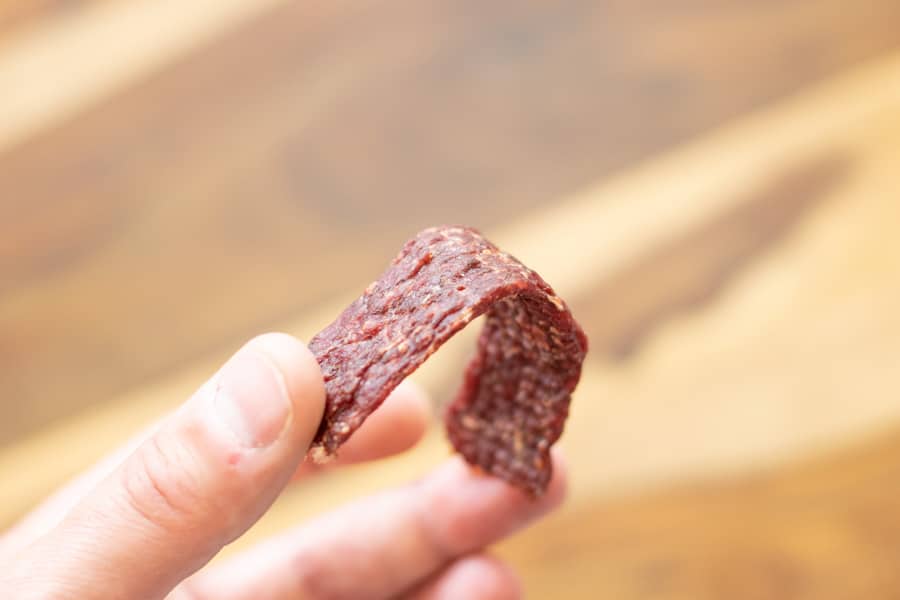
Second, bend the strip, if it bends without breaking in half or cracks just a little bit, it’s finished. The jerky should still feel soft to the touch and not too hard on the outside.
Storing Jerky
To make the jerky last as long as possible, curing salt will really help along with keeping in air tight containers.
I have put together a page on storing jerky and steps you can take to make your jerky have an extended shelf life.
Pro Tips:
- Use Corn Syrup Solids to help bind the jerky together and make it pliable and not dried out too much.
- A jerky gun really helps when making a lot of ground jerky
- Adding Liquid smoke will give it a flavor as if it was dried in a smoker

Ingredients
Lean Beef
- 1 lb Lean ground beef (10% fat or less)
Marinade
- 2 tablespoon water (cold)
- 1 teaspoon coconut flavor
- ½ teaspoon allspice
- 1 tablespoon honey
- 2 teaspoon sea salt (finely ground)
- 1 teaspoon cinnamon (ground)
- ½ teaspoon coriander (ground)
- ½ teaspoon basil leaves (crushed)
- ¼ teaspoon curing salt (optional)
- ½ teaspoon corn syrup solids (optional)
Instructions
- Mix the ingredients together in a small bowl
- In a larger bowl, combine the 1lb of ground beef with the previously mixed ingredients
- Mix the ground beef and seasonings thoroughly
- If using a jerky gun, load the gun with the ground beef mixture & shoot 4-5" long strips onto a dehydrator tray or on a baking sheet
- If not using a jerky gun, spread the ground meat on a baking sheet, cover with wax paper, and roll with a rolling pin until meat is ¼" thick
- Slice the pan of beef into jerky strips 4-5" long and 1" wide
- Dry with your favorite jerky making method. I used a dehydrator at 165F for 3 hours and 145F for 1 hour
- Ground jerky is finished when it first starts becoming dry to the touch. It should bend without breaking in half. If it cracks in half when bent a little bit, it was over dried
Pro Tips
Old Pro Tips:
- Use no more than 90/10 ground beef if storing jerky for more than a couple days
- Use curing salt or celery juice powder to extend the life of the jerky
- Refrigerate for 1-8 hours to bind the meat together
- Use corn syrup solids for better texture

Leave a Reply