
This post may contain affiliate links. Please read my privacy policy.
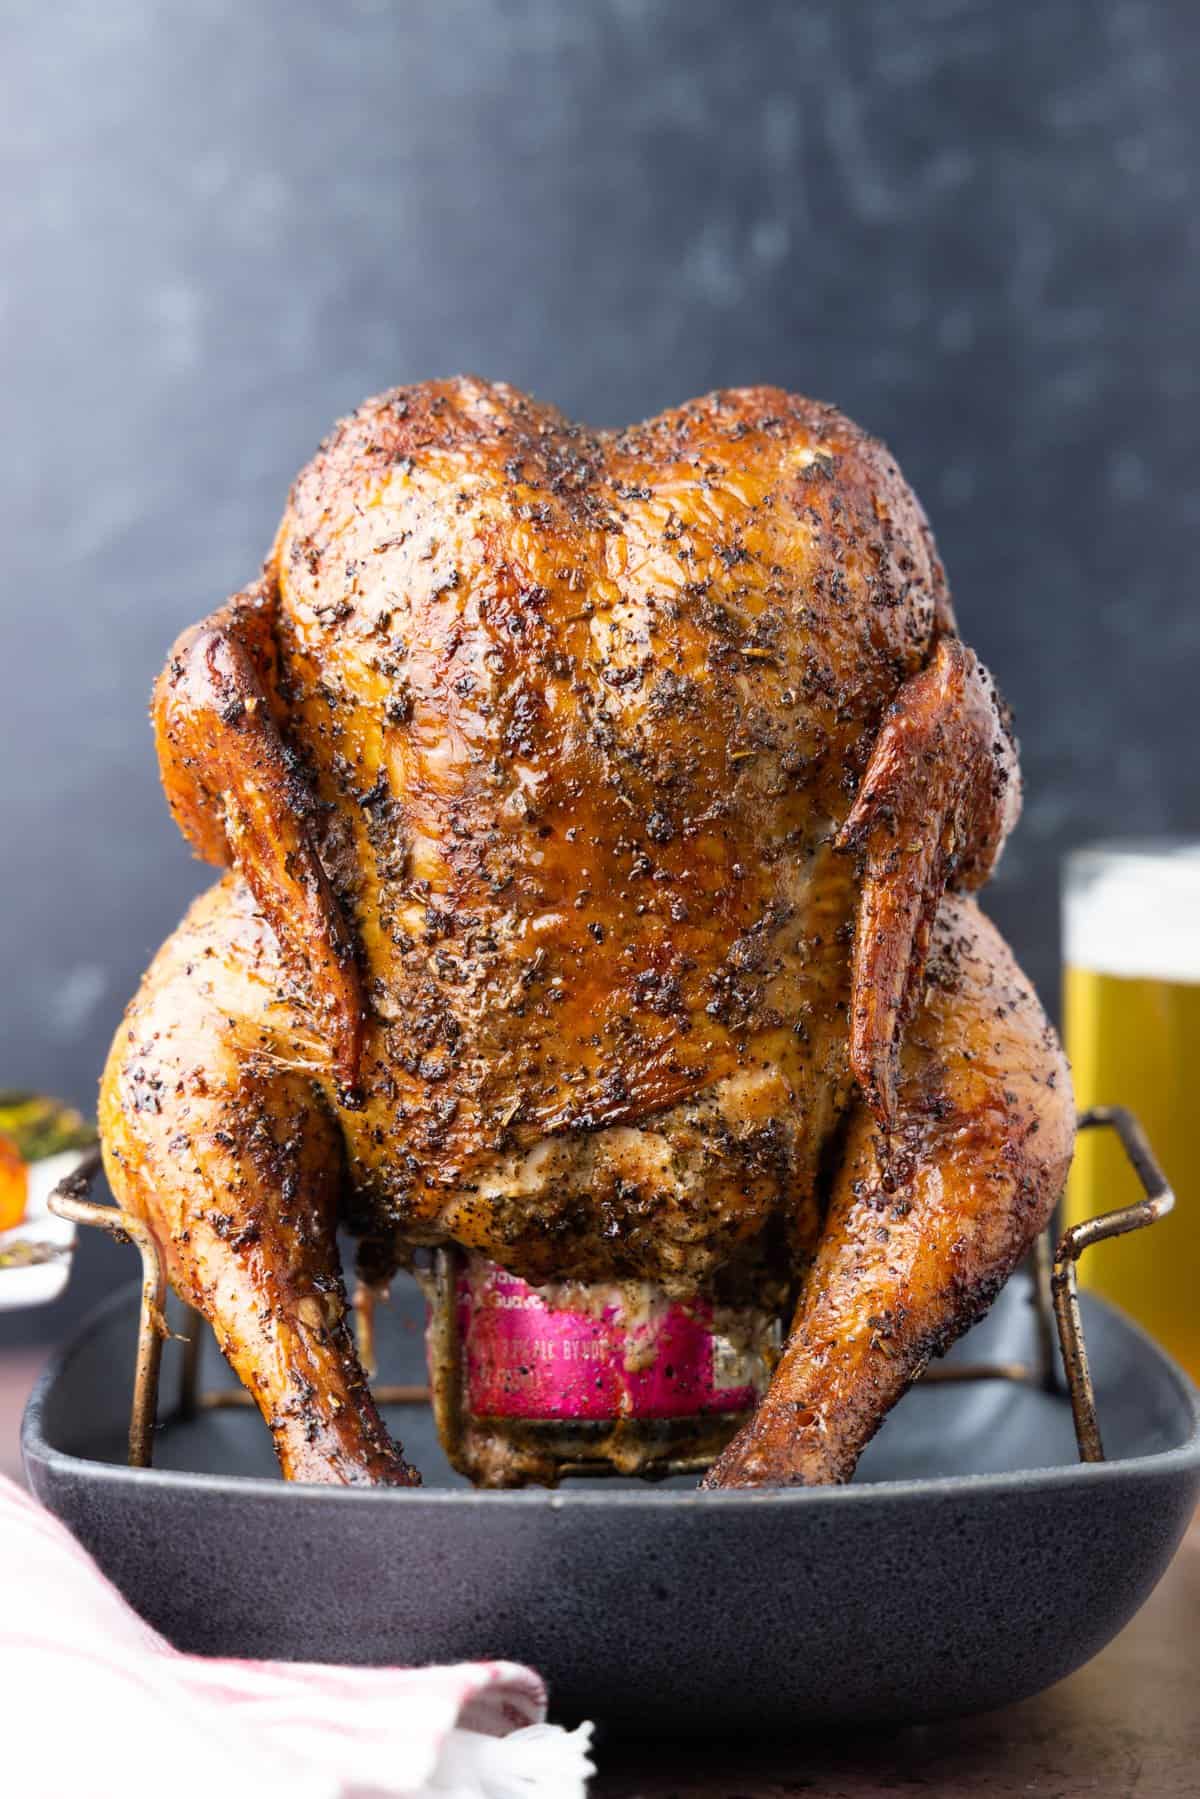
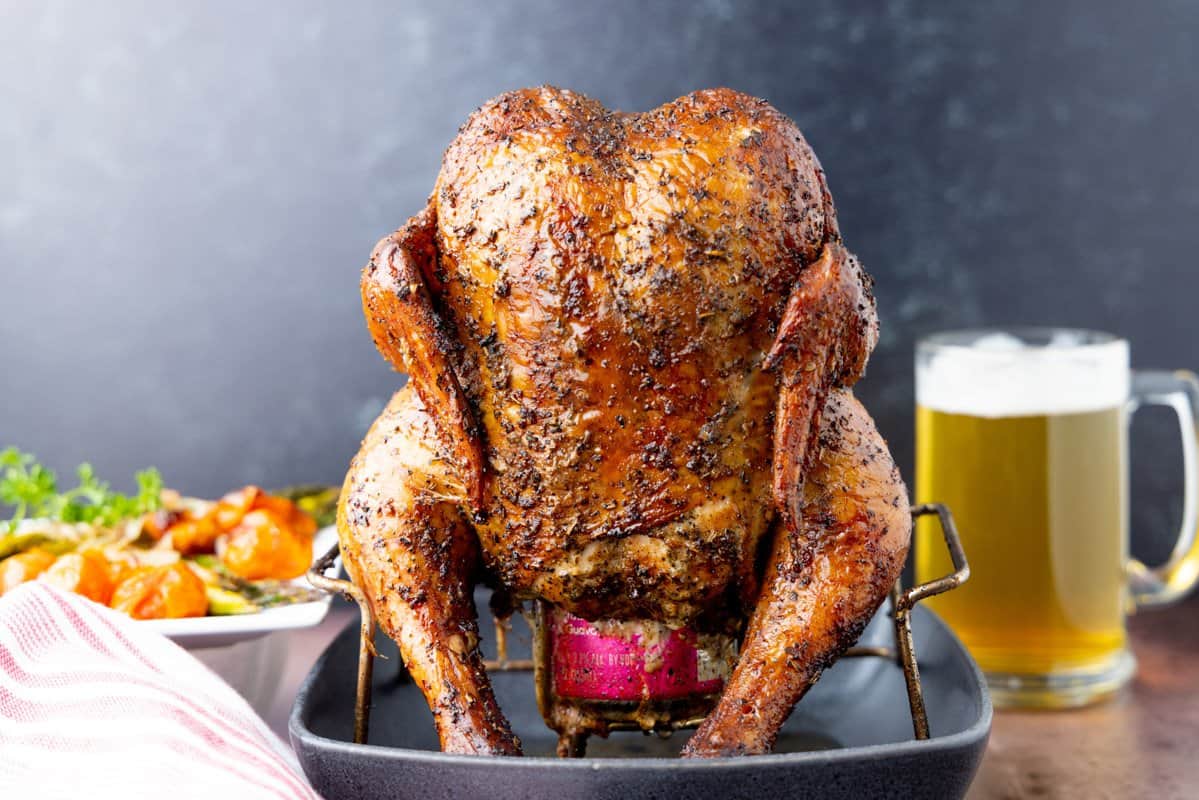
Quit making boring chicken! Grab a couple beers because we are going to season the hell out of some chickens and stick a beer in em' for the juiciest smoked beer can chicken you've ever had. Fire up those smokers, Let's roll some smoke!
Jump to:
VIDEO - How to smoke beer can chicken
Why I love beer can chicken
There are several reasons why I decide to make beer can chicken, the most important being that it tastes amazing!
- The chicken is smoked low for smoke flavor, then finished off at high heat for a nice crisp skin.
- The beer keeps the chicken meat nice and moist giving you that juicy bite which everyone is looking for when cooking chicken. No dried out chicken here!
How much chicken do I need to cook?
Count on one 4-5lb roaster chicken serving 4-6 people. I recommend smoking two chickens at the same time. They both WILL definitely get eaten, or you can be the favorite neighbor and share some of this poultry love with those around you.
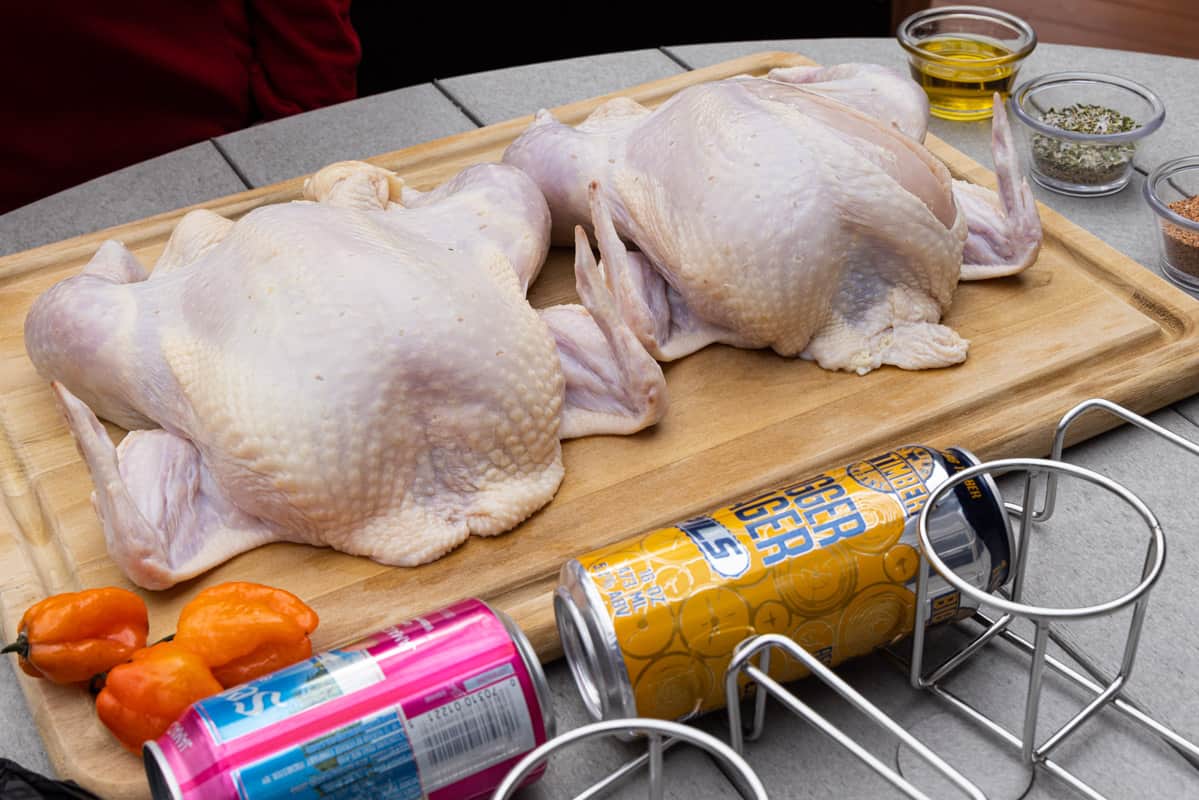
What you need for beer can chicken
- Whole Chicken - Start with a 5-7lb whole chicken from your local grocery store. They are quite inexpensive and easy to find. Remember, might as well grab two chickens!
- Brine - Brining a chicken in fresh water, kosher salt, apple juice, & dark brown sugar helps keep the chicken moist during cooking and will churn out a nice tender bird.
- Seasoning - We're cooking two birds with two different flavors. One will have a little spice and the other is nice and succulent.
- Beer - Using a light lager or fruity type beer will give you the best results. The beer is used to add a little flavor, but also keep the meat nice and moist.
- Wood chips - Using fruit woods such as cherry wood or apple wood chips give this smoked beer can chicken a great flavor. They don't overpower the chicken flavor imparting a nice mild smoke on the bird.
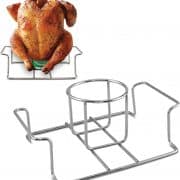
- Beer can chicken stand - You can get away without using a beer can stand, but they sure are VERY nice to have to keep the chicken upright. They make cooking the chicken easier as well as not having to worry about the chicken falling over.
How to Smoke Beer Can Chicken
Let's get into the fun stuff and get started making this beer can chicken recipe. Here I will show you how to brine, season, the best beer to use, and smoking these delicious chickens.
Prepping the chicken
Before we start seasoning, we need to either brine these bad boys or give them a nice rinse. Let's take a look at how to brine chicken.
Brine (optional)
Brining the chickens before seasoning and smoking is optional. This will help keep the chickens moist while cooking, but is not required.
To brine the chicken, grab a bucket big enough to submerge the chicken(s) fully in water, such as a 5 gallon bucket commonly found at Lowes or Home Depot.
First, in a pot combine brine ingredients and heat to boiling.
- 3 gallons fresh water
- 3 cups kosher salt
- 4 cups apple juice
- 2 cups dark brown sugar
Second, after bringing to a low boil, stir pot until all ingredients are dissolved into the water. Remove from heat and allow to cool. Ice cubes can be added to speed up the cooling process.
Third, add chicken(s) to the 5 gallon bucket and pour the cooled brine water over the chickens until they are fully submerged. Place bucket in your refrigerator and brine for at least 4 hours, if not overnight.
Rinse
Remove the chicken from the brine and rinse with fresh cold water. Discard the brine, do NOT save to brine chickens in the future. Always use fresh brine when brining chickens or turkeys.
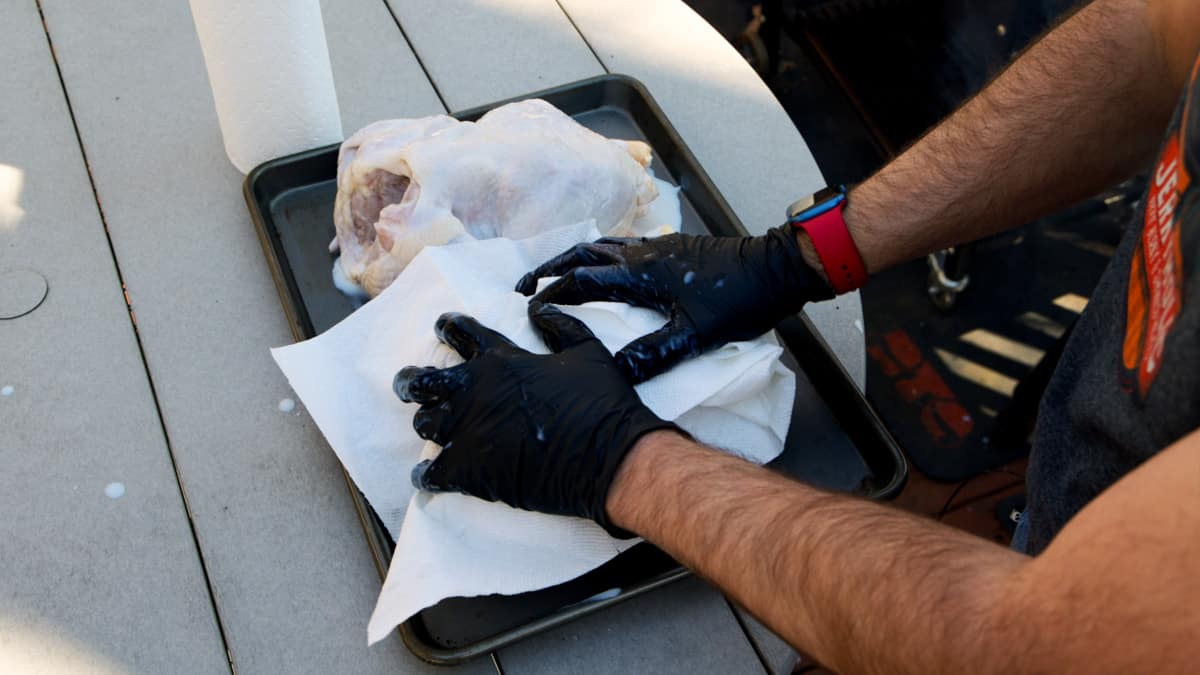
Pat the whole chickens dry with paper towels making sure to get around the legs and under any skin. Do not tie the legs together like you would when smoking a traditional whole chicken.
Seasoning
For this smoked beer can chicken recipe, rub chicken down with olive oil so the dry rub will stick to the bird better. Using your fingers, separate the skin from the breast meat and cover inside with olive oil. The oil will also help the skin become more crispy, so don't skip the oil!
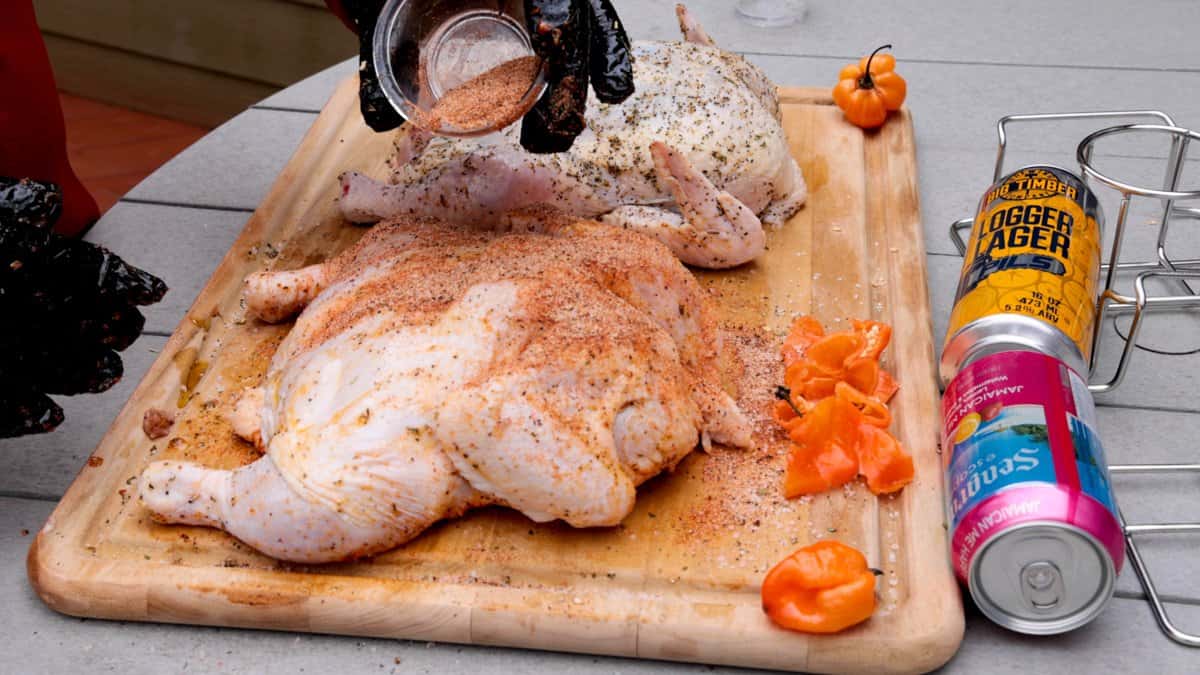
Add all dry ingredients into a shaker or a bowl. Season the chicken all over, including under the skin to make sure that meat has some great tasting chicken seasoning.
I'm making one chicken with habaneros, these were cut in half and then rubbed ALL over the bird before adding the oil. Then I seasoned with the spice rub. Watch my video attached to this article to see exactly how this was done.
Time for beer
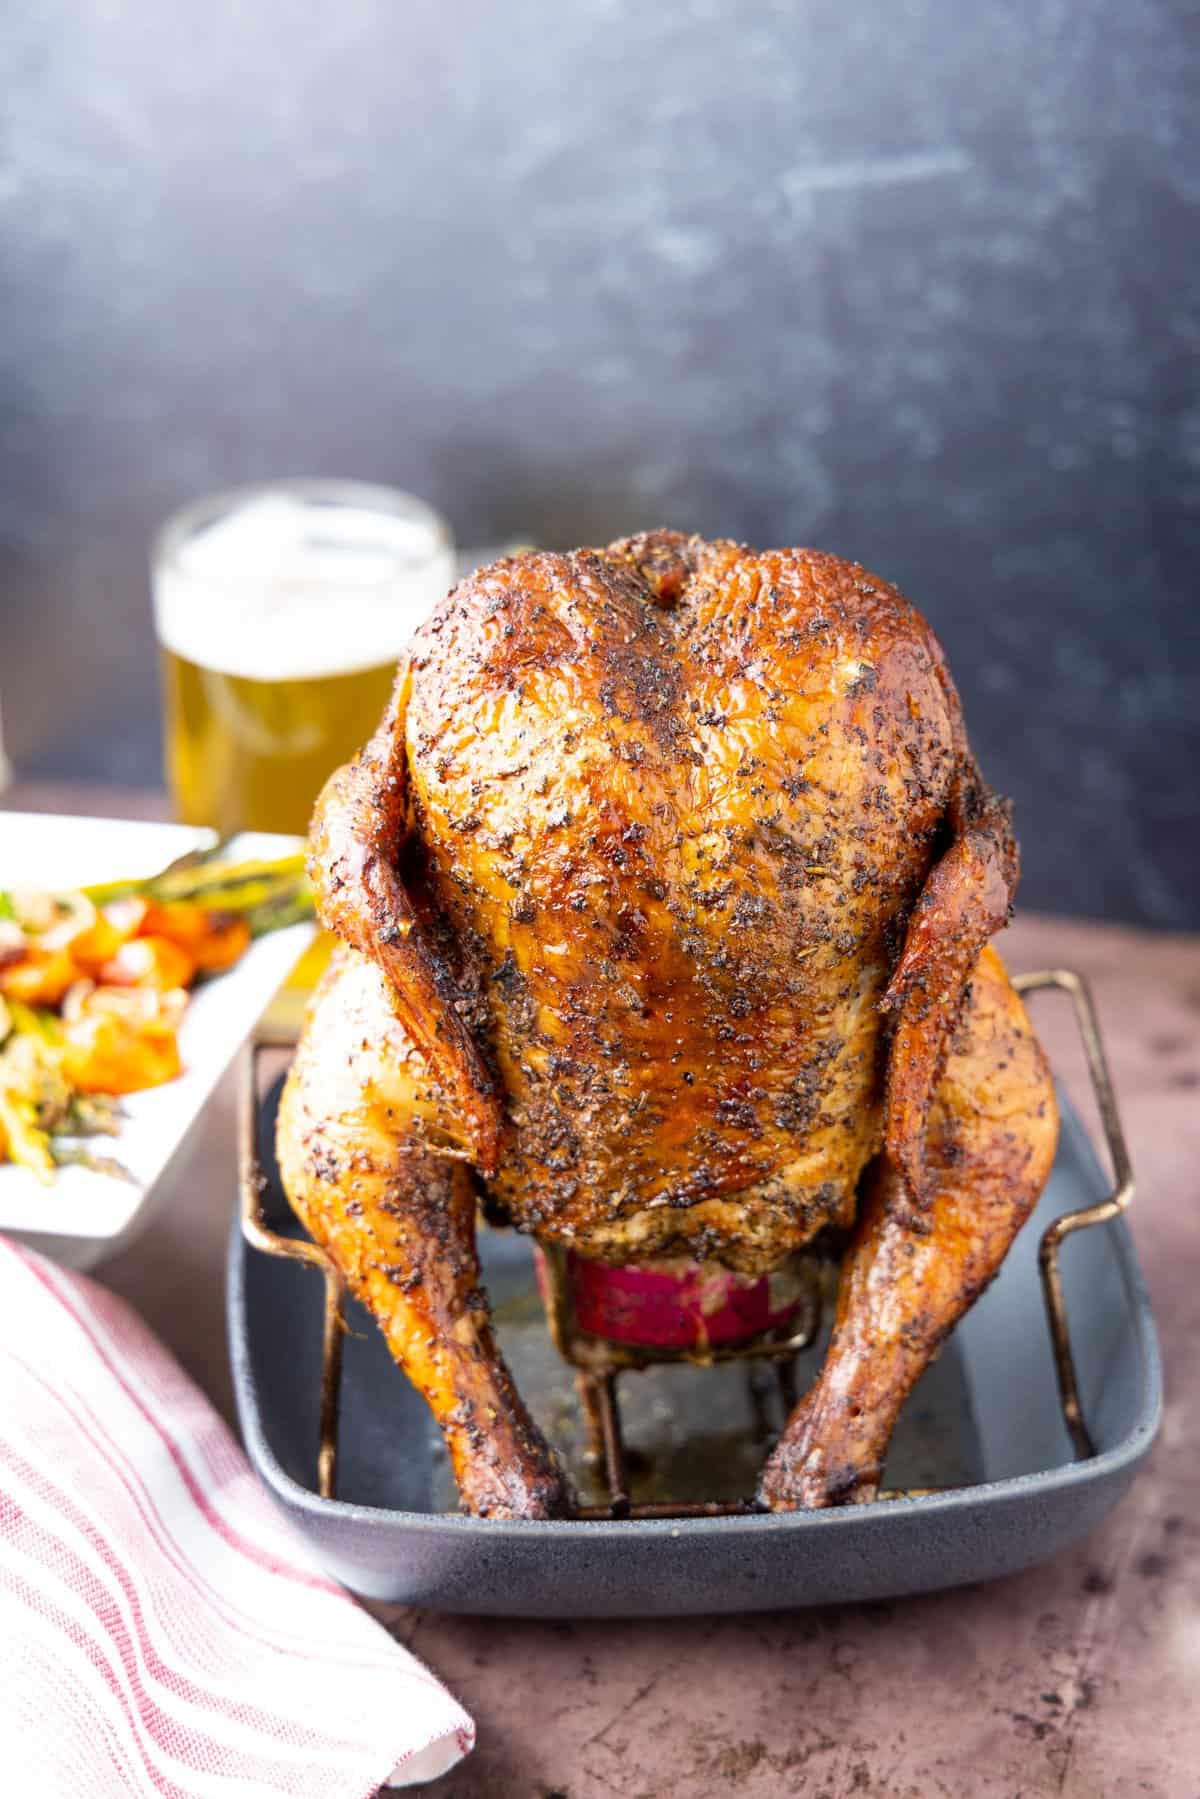
Once the chicken is seasoned, open a 12-16oz CAN of light flavored lager or a fruity type beer. Get rid of half of the beer in the can (Drink half the beer!). Place the beer can in the designated spot on the Beer Can Chicken Stand.
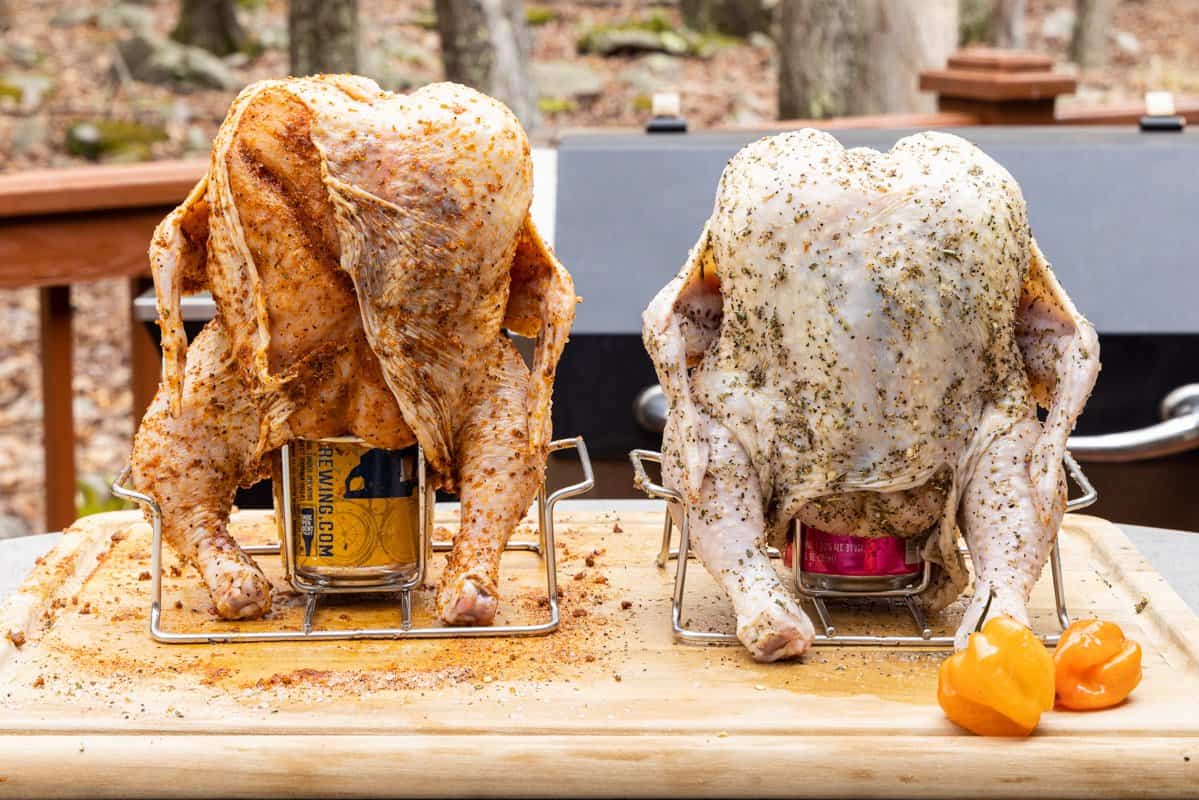
Grab one of your seasoned whole chickens and slide the chicken onto the open beer can. The can of beer should be inside the cavity of the chicken so it's sitting down with its body upright.
Smoking the Chicken
Now that we have the chicken brined, dried, seasoned, and have a beer stuck up it's rear end; it's time to fire up those smokers and get to the fun part!
Smoke low & slow
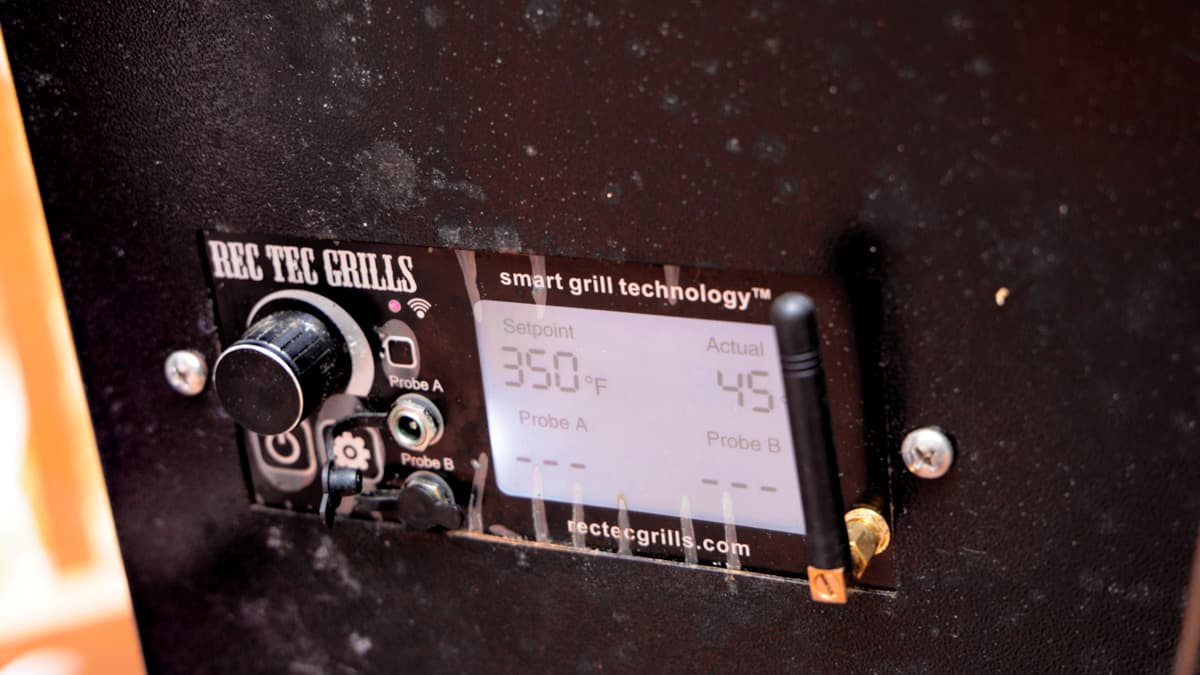
Pre-heat your smoker to 225°F with a fruit wood such as cherry or apple or your other desired wood. Once the smoker temperature has leveled at 225° Fahrenheit, place the chicken atop the stand and beer, directly onto the grill grates.
Close the grill lid and smoke at 225°F for 1 hour and 15 minutes. This should get your chickens internal temperature to about 110 - 120°F and give it that nice smoky flavor.

The ½ full beer inside the chickens cavity makes the chicken cook slower than if the can wasn't in there. This is because air cannot freely circulate inside the chicken cooking it from the inside as well as the outside.
The little over an hour cooking time at 225°F will give the chicken a fantastic smoke flavor. Time to finish these chickens off to a nice crispy skin.
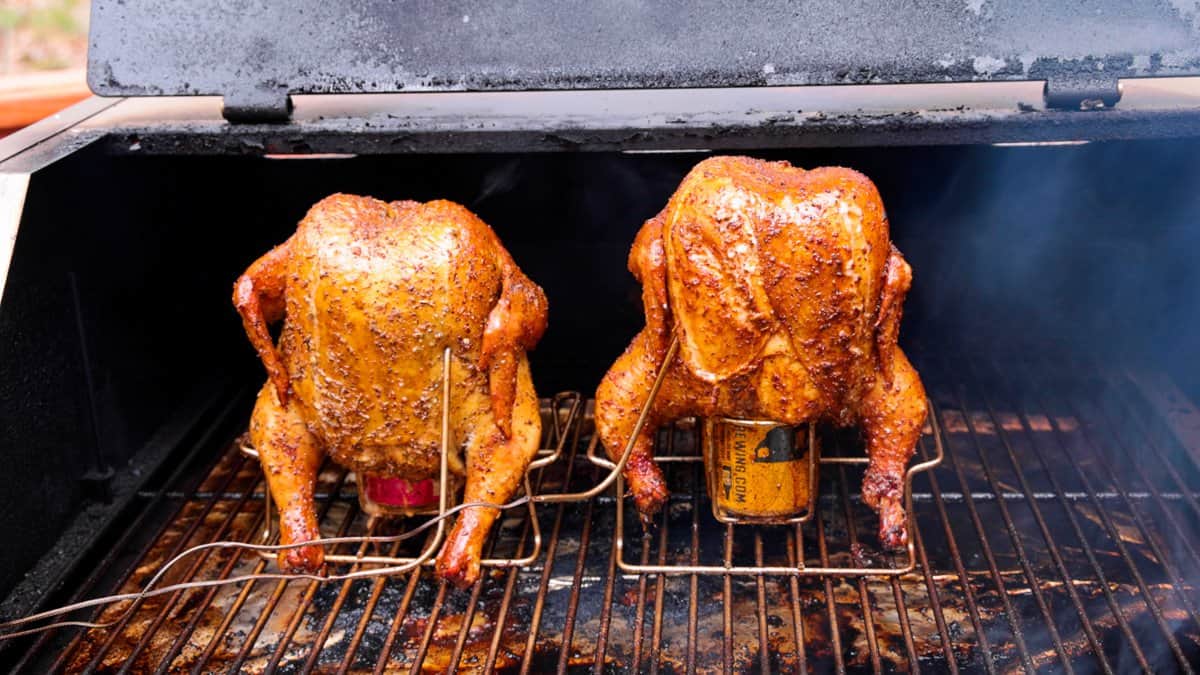
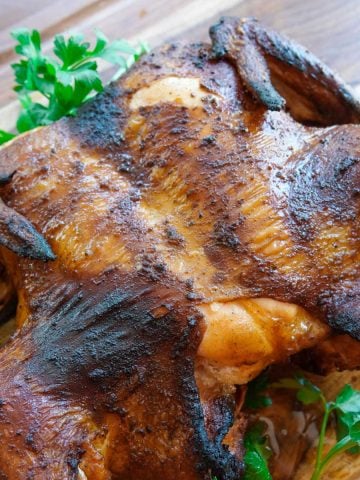
Finish hot & fast
So to get that crispy skin, after 75 minutes increase the temperature in the smoker up to 350°F.
Don't bother removing the chicken while you increase the temperature, simply leave them in the smoker.
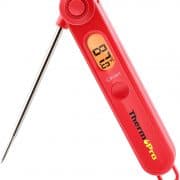
Continue cooking the chickens until they reach an internal temp of 165°F when checked with an instant read thermometer between the thigh and breast.
This will take about an hour after turning the grills temperature up to 350°F. Cooking time really depends on a lot of factors however, so it's best to cook to temperature, NOT time.
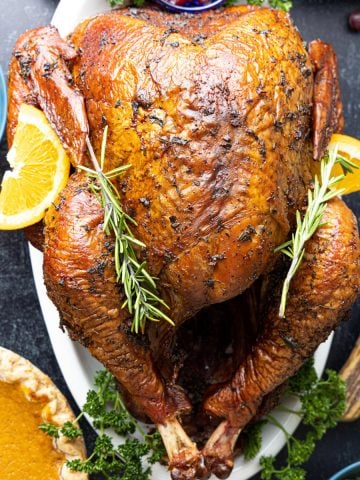
Time to let it rest
Once the chicken probes 165°F, remove from the smoker and place on a cutting board.
Allow the bird to rest for 10-15 minutes still on beer can to allow the juices to redistribute throughout the chicken. This will result in a tender and juicy smoked beer can chicken!
Expert Tip: Do NOT cover the chicken in aluminum foil when resting, this will result in soggy skin.
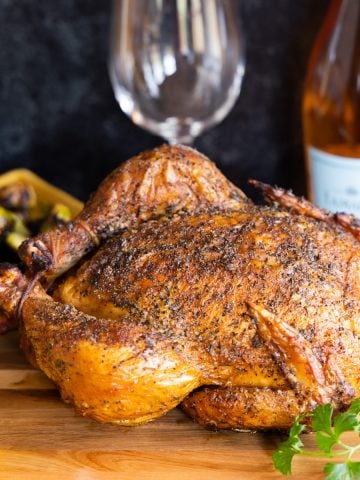
Serving
Once the chicken has finished resting. Pull the bird off the beer can and place on a cutting board. You can either carve pieces of meat off the chicken, or use rubber gloves and pull the meat off the bone.
I like pulling it apart with my hands while the chicken is still hot. Then I store any leftover chicken in glass containers to store in the fridge for the next day.
Choosing a smoker
Like always, the best smoker you can use is the one you already have! If you don't have one, it's time to decide whether you want to go with a pellet grill or a traditional offset smoker.
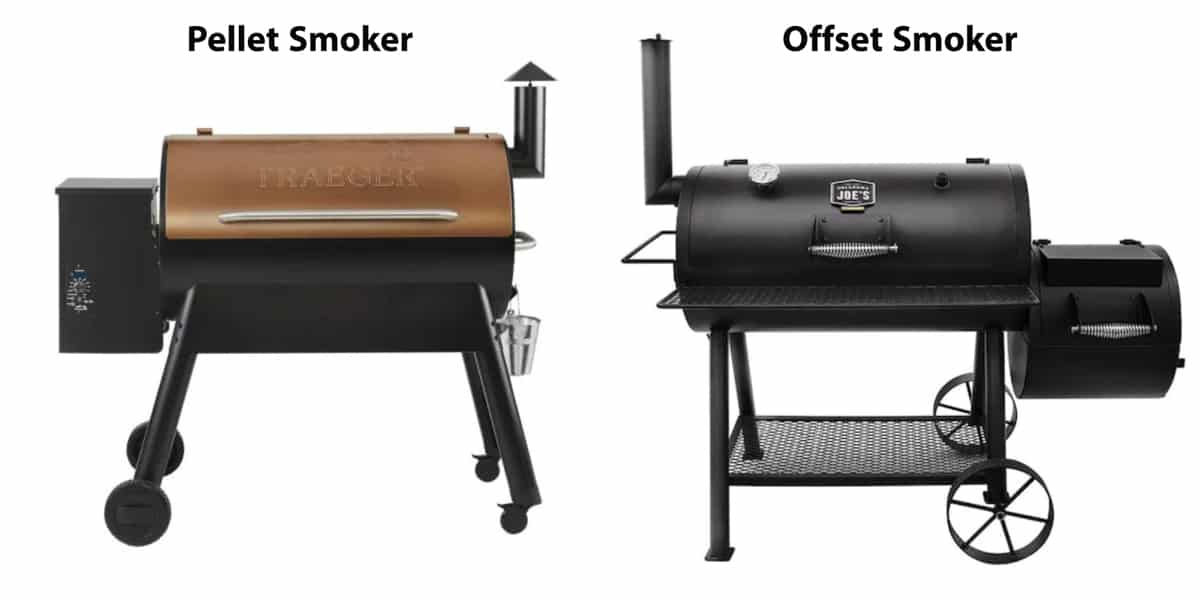
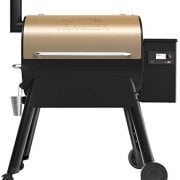
Pellet smokers
I'm smoking this chicken on my wood pellet grill, just like the Camp Chef 36 smoker or Traeger 780. Wood pellet smokers are an easy and great way to impart fantastic smoke flavor and are extremely easy to use.
They operate on wood pellets and hold a very steady temperature just like an oven. No worrying about temp spikes or dips with one of these bad boys. Check out my in depth article on pellet smokers and the Top 5 on the market.
Offset smokers
A traditional offset smoker is another great smoker to use when wanting to get back to basics. These can get very hot (which is great for cooking chicken) and are normally less expensive than a pellet smoker.
A traditional offset smoker, like this Oklahoma Joe's Smoker is a great option that is easy to use with no technology built in like a pellet smoker. Though it takes a little more attention than a pellet smoker, this produces amazing flavored meat.
Charcoal Grill / Gas Grill
Using a propane grill or charcoal grill is another great way to get that extra smoke/fire flavor on your chicken.
There is no need to cook at a low temperature with a grill. Simply cook hot and fast until the bird is finished. An inexpensive charcoal grill and one I love cooking with is the classic Weber Kettle Grill.
Storing Leftovers
The best way to store whole chickens leftovers is to remove all the meat from the chicken before placing in the fridge. This is best done ripping all the meat off the bones and body of the chicken with your hands while the chicken is still warm.
The meat comes off much easier than trying to slice it off with a knife. Use some disposable food safety gloves when doing this. Place the chicken meat in a ziplock bag or Tupperwear and store in the fridge for up to 5 days.
Side dishes
It's time to serve up these perfectly smoked tender chickens. Make sure to serve them with some great sides that this succulent chicken deserves to have next to it on the dinner plate.
- Smoked Mac N' Cheese - Jerkyholic
- Creamy Cole Slaw - Sue Bee Homemaker
- Oven Roasted Potatoes - Bake it with love
- Smoked Baked Beans - Jerkyholic
FAQ
It takes about 2 hours to smoke and finish off beer can chicken at a high temperature to achieve that crispy skin.
Apple juice or a 50:50 apple cider/water mixture works great!
A light lager or fruity beer gives the best flavor to the chicken.

Ingredients
- 5 lb roaster chicken (giblets removed)
Brine
- 3 gallons water
- 3 cups kosher salt
- 4 cups apple juice
- 2 cups dark brown sugar
Seasoning Rub #1
- 2 tablespoon olive oil
- 2 teaspoon sea Salt
- 2 teaspoon onion powder
- 2 teaspoon garlic powder
- 1 teaspoon black pepper
- 1 teaspoon paprika
- 1 teaspoon chili powder
- 1 teaspoon cumin
Seasoning Rub #2
- 2 tablespoon olive oil
- 3 habanero peppers (cut in half)
- 2 teaspoon black pepper
- 2 tsp sea salt
- 2 teaspoon parsley
- 2 teaspoon garlic powder
Beer
- ½ can light lager or fruity beer (12-16 oz can)
Instructions
- Pre-heat smoker to 225°F.
- Remove giblets from inside of roaster chicken and rinse bird with fresh water.
- Brine chicken for 4-24 hours in a wet brine or simply rinse with fresh water. Add brine ingredients in a large pot and bring to a boil to dissolve salt & sugar. Remove from heat.
- Allow brine to cool COMPLETELY before adding & submerging chicken into liquid. Once finished, rinse with cool fresh water.
- Dry chicken with paper towels. Coat with olive oil. Make sure to get both sides of the bird and in between the skin and breast meat.
- Season bird with rub seasoning everywhere you put olive oil. Place a 12-16 oz beer can which is half full of beer inside the cavity of chicken. Use a beer can chicken stand for ease.
- Place chicken directly on grill rack 'sitting up' and smoke for 75 minutes. Turn up temperature to 350°F and cook until the internal temperature is 165°F when checked with an instant read thermometer, about another 60 minutes.
- Let rest 10-15 minutes and serve.
Pro Tips
- Use a beer can chicken stand for ease of cooking. They can come in some cool different designs too. Great for presentation.
- Use a fruit wood when smoking for best flavor.
- Don't smoke at a low temperature the entire time, the skin will come out rubbery.


Kendall
I meant to post a review with rating after making this last time. I made this recipe for the first time at the beginning of July after getting one of those beer can chicken grill stands on a whim. I had a food-safe bucket from all the container gardening I've done this year and decided to try the brine method.
Let me tell you...my VERY PICKY husband who honestly HATES CHICKEN was speechless after tasting this. He's really only been a fan of bbq ribs and pulled pork on the Traeger since we got it 5 years ago. This is the first time in 18 years we've been together that he was saying this is the first time he's ever actually liked and wanted to have more chicken! It was pretty salty imo, but maybe that's what he needed. It was salty throughout the meat and it was tender but not so tender that it turned to mush when you bit into it. The skin stayed crispy and flavorful too. The leftovers made wonderful additions to scrambled eggs, nachos, and chicken salad. We're making this again tomorrow, brining today. Cannot wait for dinner tomorrow! YUM!!!
Chris B
Recipe was spot on, definitely use the brine method. Chicken was amazing!!