
This post may contain affiliate links. Please read my privacy policy.
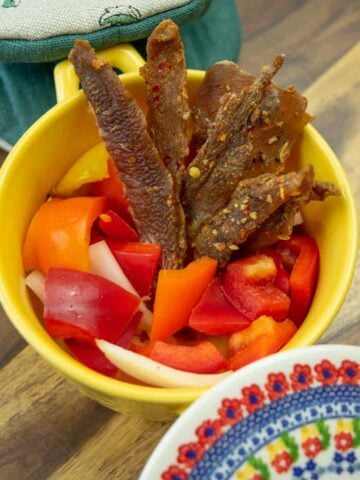
Who doesn't love Korean BBQ Pork? No one... Everyone loves it. That is why this sweet AND spicy jerky is so amazing. You will hide it from your friends, wife, husband, and even kids. You will not share this jerky, it's THAT good!
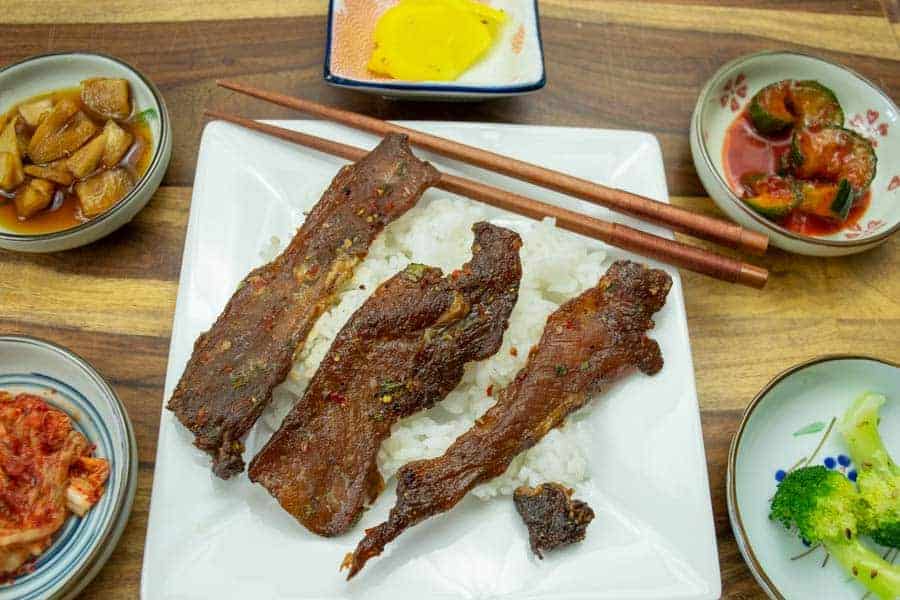
I wan't to eat that right now, it looks SO good! I made this recipe a couple weeks ago and I clearly do not have any of this jerky left, I already ate it all, but am really wishing I had a piece right now...
Slicing The Meat
I normally make pork jerky out of pork tenderloin, but decided to try pork loin for the three pork recipes I just made. It had a little more interior fat than I like, so will be sticking to tenderloin in the future.
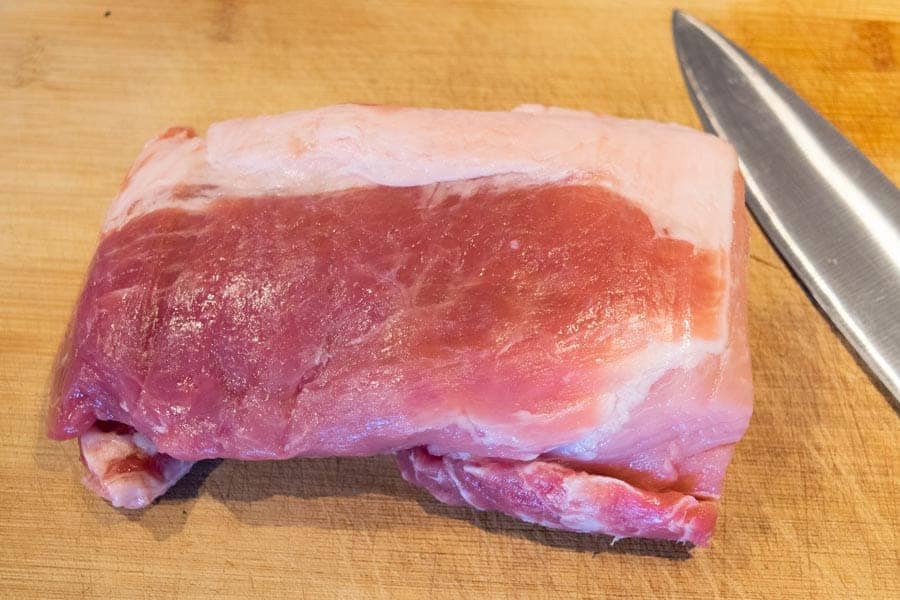
Pick up a pork tenderloin or pork loin and slice away the fat cap and any other fat that you see. Getting rid of as much fat as you can now will help the jerky last longer after it has finished drying.
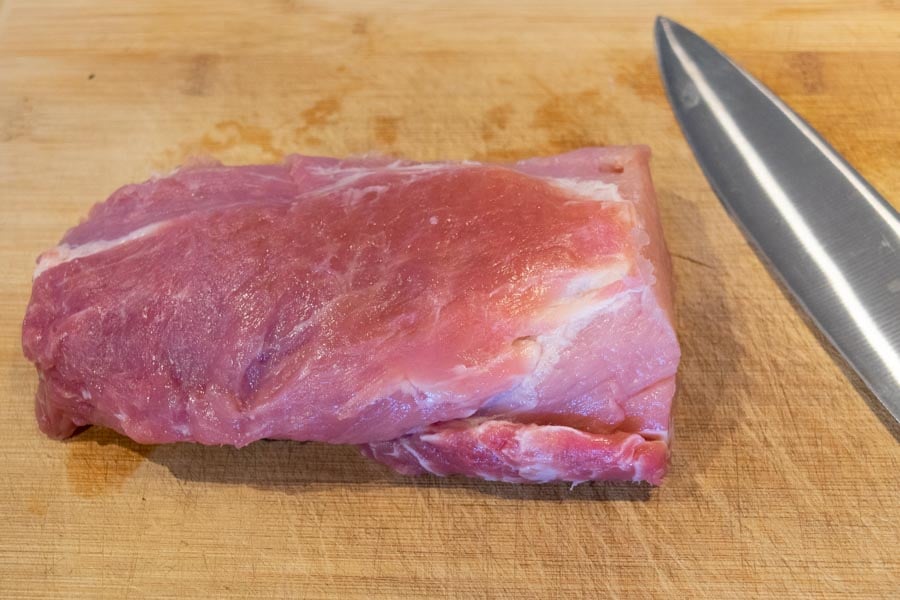
I have trimmed the fat cap and will slice WITH the grain at about ⅛″ – ¼″ thick.
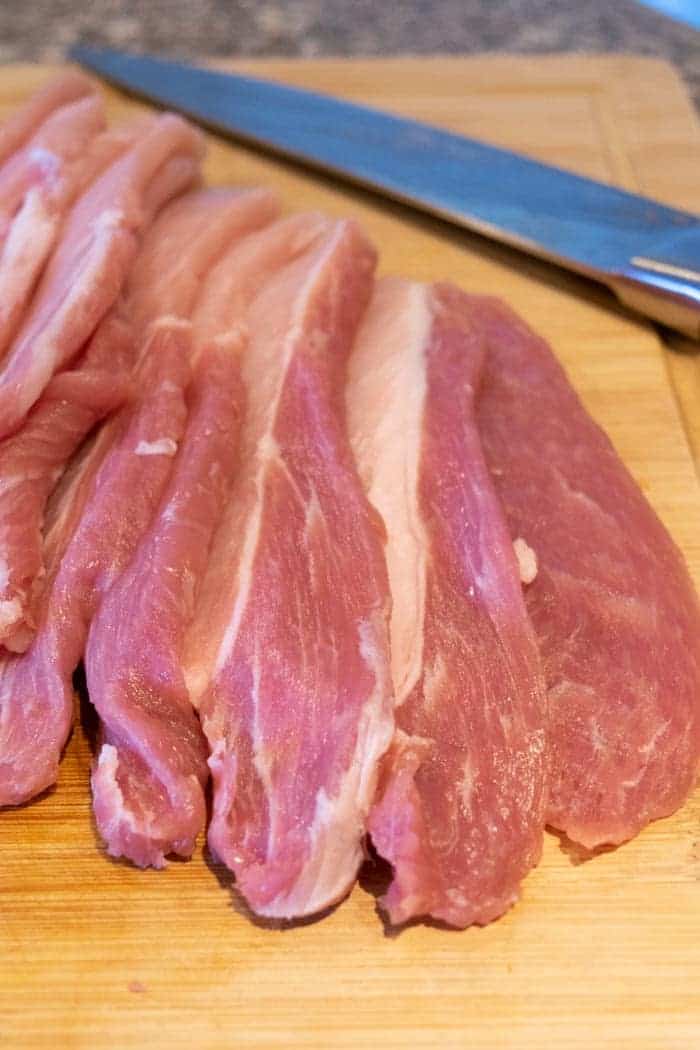
Here is the pork loin sliced in ¼″ strips. You can see the white fat on the strips from all the interior fat on the loin. Like I mentioned earlier, I believe the tenderloin is a better cut when making pork jerky.
Related Page: Dozens of Jerky Recipes – Click Here!!!
Making The Marinade
I made a Korean BBQ jerky recipe in the past and it turned out amazing, it's actually a recipe in my cookbook (shameless plug). That recipe was made with beef however. I loved it so much, I tweaked it by adding a couple ingredients and making it with pork.
Most of these ingredients can be found at your local grocery store except the rice wine. This is NOT rice wine vinegar which IS easy to find, this is just Rice Wine and can be found at an Asian market. Let's get started making the marinade:
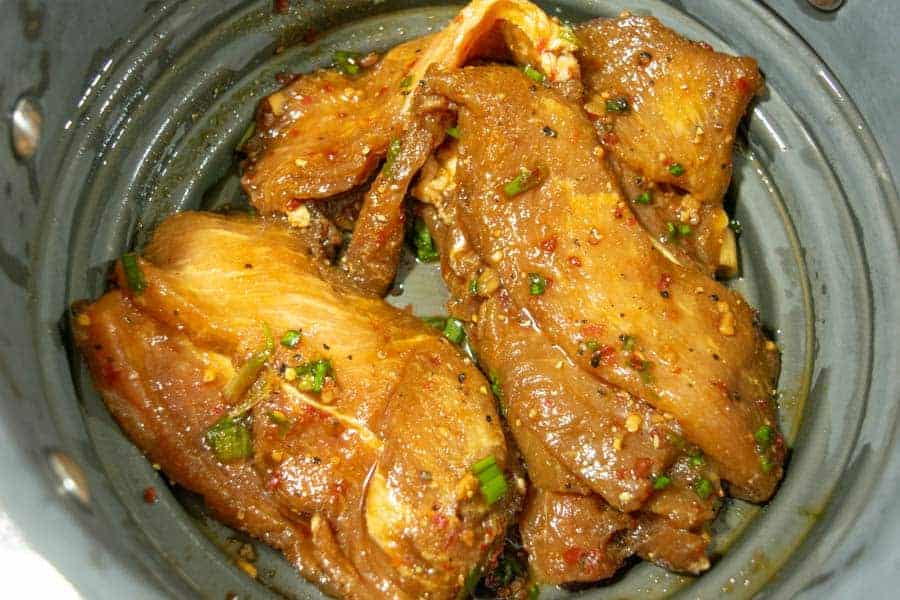
Start by adding all the ingredients in a small bowl or ziplock bag. Add the jerky strips to the marinade and make sure that all the strips are covered fully with the marinade. Marinate in the refrigerator for 6-24 hours mixing the strips in the bag every 4 hours or so to make sure the strips marinate evenly.
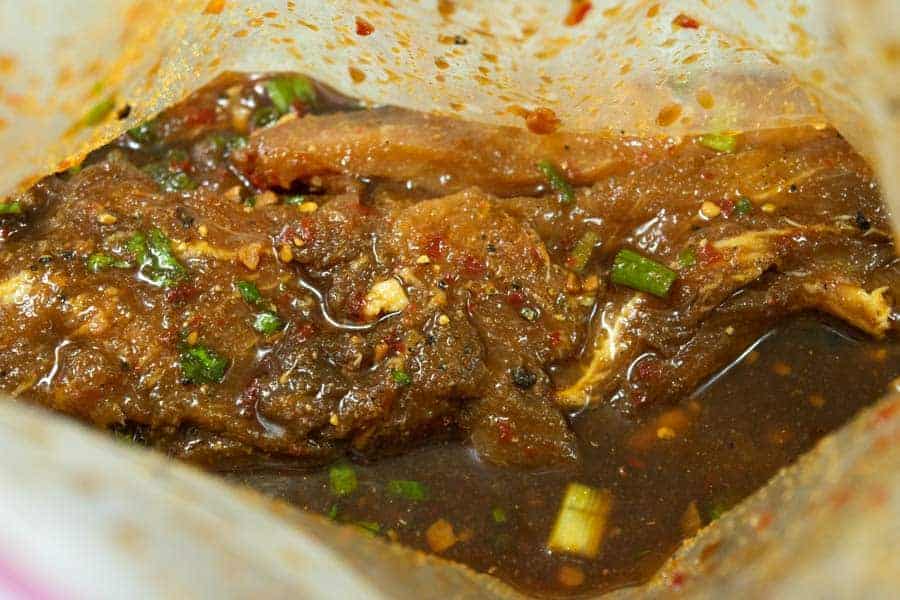
After marinating, strain the pork jerky in a colander. The jerky will NOT soak up all the marinade, using a colander is an easy way to get rid of the excess.
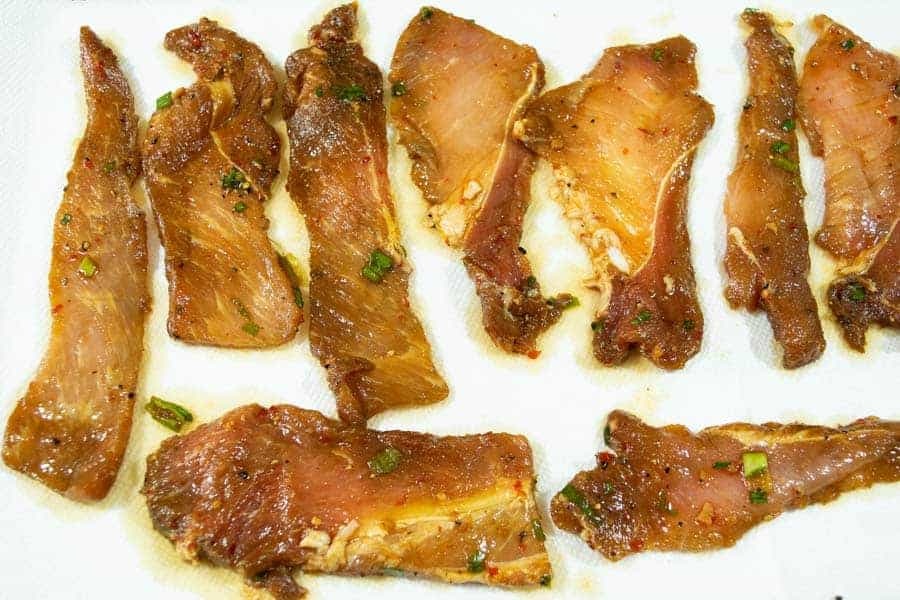
Before pre-heating the pork, pat dry the strips with paper towels to make sure they are as dry as possible. The paper towels shouldn’t remove any of the ingredients that are on top of the strips. Don’t worry, it will have a ton of flavor!
Drying The Jerky
When I make pork or turkey jerky I like to pre-heat the meat to an internal temperature of 165°F as recommended by the USDA. Pre-heat your oven to 350F and place the jerky on baking sheets.
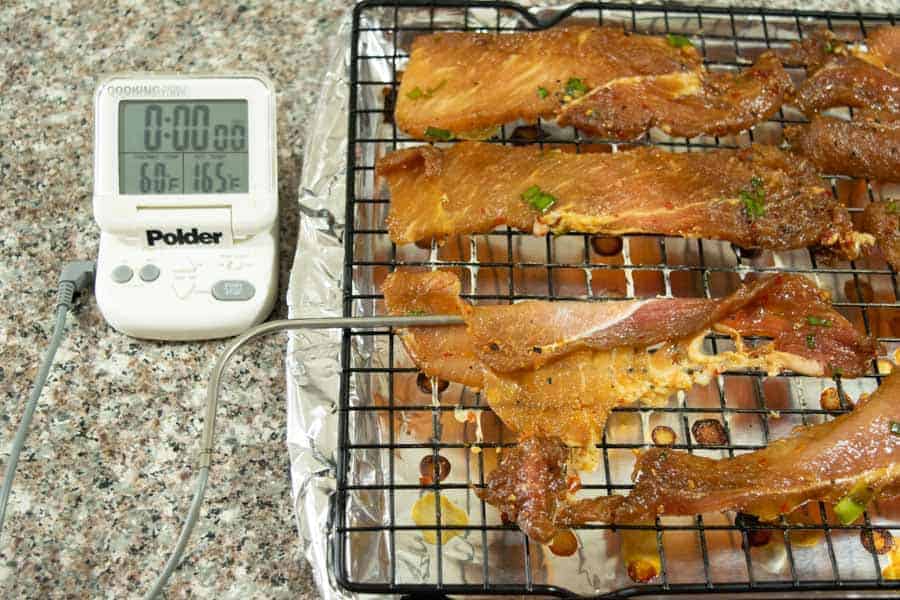
I use a cooling rack to elevate the jerky above the baking pan. This will add a little more time onto the pre-heat, but it seems to not ‘cook’ the meat as much since the jerky is not on the extremely hot pan.
Wrap a thin piece of meat around an oven thermometer and place in the oven until the jerky reaches an internal temperature of 165°F. It took 22 minutes for my pork to reach an internal temperature of 165°F.
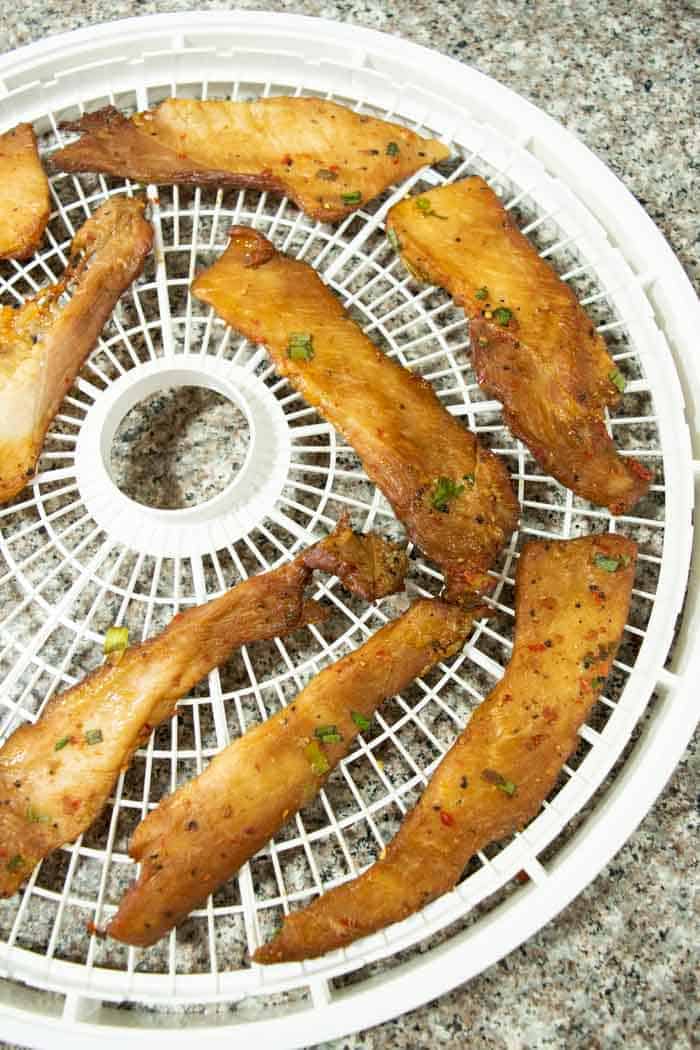
Once the strips have reached 165°F, remove from the oven and place on your dehydrator trays. I used my Nesco Gardenmaster Dehydrator when making this jerky. Above you can see the strips are NOT touching and have room in between for plenty of air flow allowing the jerky to dry evenly.
You can also use an oven or smoker to make this recipe. For step by step instructions on how to use a dehydrator, oven, and smoker to make jerky; make sure to visit my How to Make Jerky page.
Testing For When The Jerky Is Finished
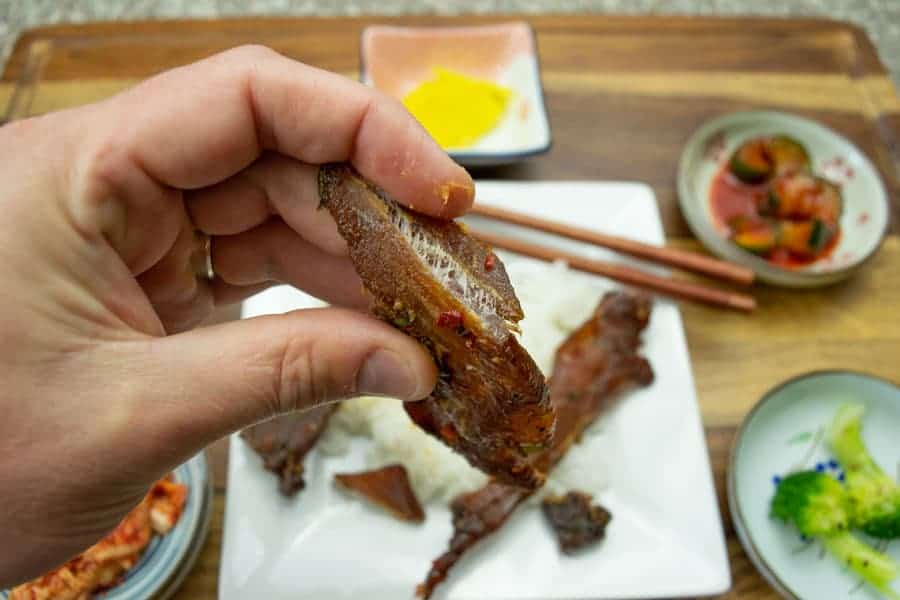
While drying the jerky, you want to start testing to see if it has finished at about the 3-4 hour mark. Take a piece of jerky out of the dehydrator, oven, or smoker and allow it to cool for 5 minutes to room temperature. Bend the jerky in half; it should bend and crack but not break in half. You will also see white fibers in the meat. The fibers are really visible when a piece is ripped in half.
If the jerky is not finished, continue drying for another hour and repeat the same process until the jerky is finished. 90% of the jerky i make is finished within 4-6 hours when using a dehydrator or oven and 6-9 hours when using a smoker.
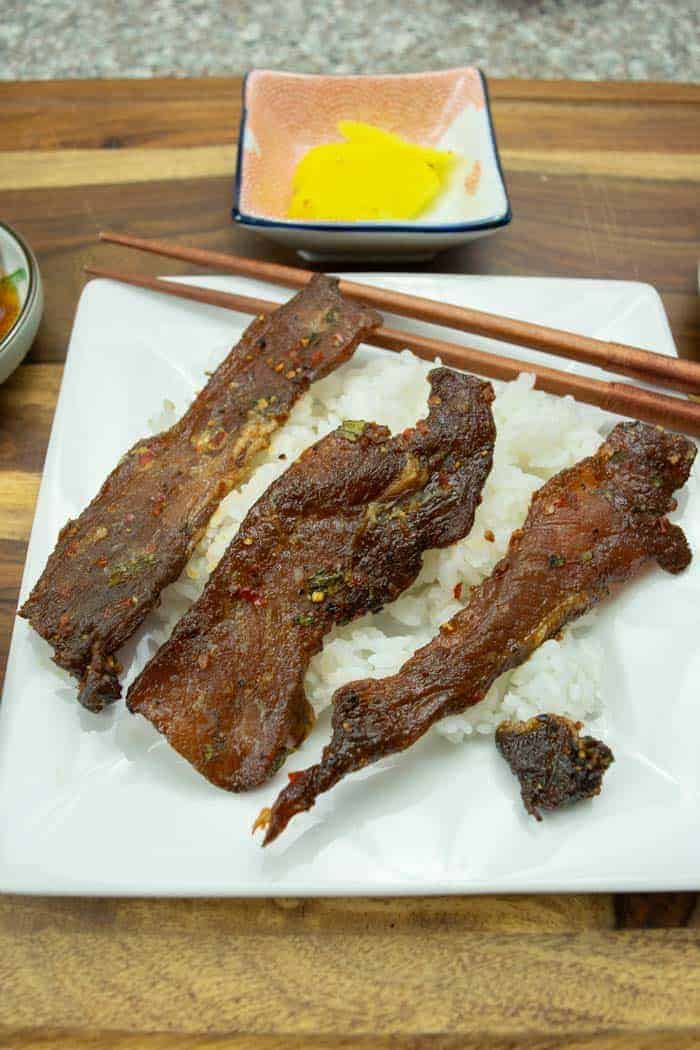
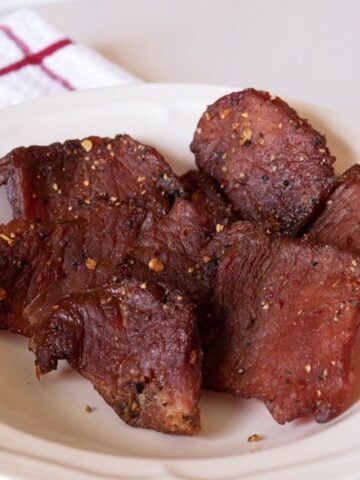
After pre-heating the jerky in the oven, it took 5 hours to dry at a temperature of 145°F in my dehydrator. This recipe really tastes just like Korean BBQ pork. It's very sweet but the sesame oil and chili garlic sauce really come through. The chili garlic sauce gives it a little bit of a kick as well. Sweet AND Spicy!!!
Storing Jerky
To make the jerky last as long as possible, curing salt will really help along with keeping in air tight containers. I have put together a page on storing jerky and steps you can take to make your jerky have an extended shelf life. Check it out!
Old Pro Tips:
- Trim all fat from the meat before marinating for longer lasting jerky once it’s finished drying
- Use curing salt or celery juice powder to extend the life of the jerky
- Marinate closer to 24 hours for the most intense flavor
- Pork Tenderloin is my favorite cut of pork to use, pork loin is a little too fatty
- Use local honey (it contains local pollen and can strengthen a person's immune system as well as reduce pollen allergy symptoms)

For more in depth directions on how to dry your jerky, visit my page Jerky Making Methods.
Ingredients
Lean Meat
Marinade
- ¼ cup rice wine
- ⅓ cup soy sauce
- ¼ teaspoon sesame oil
- 1 tablespoon chili garlic sauce
- 1 teaspoon honey (local)
- 1 tablespoon brown sugar
- ½ teaspoon onion powder
- 1 teaspoon garlic powder
- ½ teaspoon ginger powder
- ½ teaspoon black pepper
- 2 green onions (chopped)
- ¼ teaspoon curing salt (optional)
Equipment

Instructions
- Trim all visible fat from the pork and place in freezer for an hour or two to partially freeze.
- While the meat is in the freezer, combine marinade ingredients in a bowl or ziplock bag.
- Remove the meat from the freezer and slice ¼" strips against the grain for an easy chew. Cut with the grain for a more chewy jerky. Visit my page on slicing jerky for more information.
- Add sliced pork to the mixture in the ziplock bag or bowl and marinate for 6-24 hours in the refrigerator.
- After the meat has finished marinating, remove from refrigerator and strain excess marinade in a colander and pat dry with paper towels.
- Place strips on cooling rack atop a baking sheet and 'cook' in the oven for 22 minutes at 350F or until the internal temperature of the strips reaches 165F. Remove from the oven.
- Continue to dry with your favorite jerky making method. I used my Nesco Dehydrator and dried for 5 hours at 145F.
- The jerky is finished when it bends and cracks, but does not break in half. White fibers will also be seen when the jerky is bent.
Pro Tips
Old Pro Tips:
- Trim all fat from the meat before marinating for longer lasting jerky once it’s finished drying
- Use curing salt or celery juice powder to extend the life of the jerky
- Marinate closer to 24 hours for the most intense flavor
- Pork Tenderloin is my favorite cut of pork to use, pork loin is a little too fatty
- Use local honey (it contains local pollen and can strengthen a person's immune system as well as reduce pollen allergy symptoms)

Terry McDonald
I see that you cook it in the oven for 22 minutes until 165 degrees but then use a dehydrator at 145 degrees for 5 hours.. Do you do both or one or the other to finish the jerky? Should I rinse the jerky after I let it marinade or just let it drip dry and pat it dry?
Will
I don't always pre-heat my jerky in the oven before drying. It definitely changes the texture of the jerky (not for the better). It is recommended to pre-heat by the FDA. I have tested my dehydrator temperatures and know that I can get the meat up to 160°F within an hour or so. For this reason, if I don't pre-heat, I dehydrate on the hottest setting to ensure the elimination of any bacteria.
Do NOT rinse the jerky before drying. Pat dry the meat strips before drying, but don't rinse with water.
Lin
do you use Regular Sesame oil or toasted sesame oil?
Will
I used toasted sesame oil, but either will work just fine.